Do you ever grab an old jacket, suitcase, or sleeping bag from the closet and notice those telltale orange signs of rust and deterioration? Unfortunately, when we store items for extended periods of time and forget about them, various factors can lead to the metal zipper winding up in a rough shape.
Various facts can result in rust and deterioration, like humidity in the air or just a general lack of maintenance. Thankfully, you may not need to abandon the entire item if you know how to repair a rusted or corroded zipper. Before you consider spending money on a costly replacement, let’s see if we can recover the zipper and get things back on the right track.
Rust is something that metallurgists have debated about for a while now, and many different metals can create it. Essentially, rust forms when certain metals, usually iron, react to lengthy exposure to oxygen and water. Since oxygen and humidity exist all around us, it’s easy for the exterior of the metal to turn into these red, flaky oxides that cause damage to the metal and may eventually lead to corrosion.
However, most zippers, even metal ones, are not made from iron. When rust forms, it's generally not as damaging as it might be on other metals. This is beneficial because it means it's more likely or possible to work around the oxidation and still maintain a clean-looking, functional zipper.
If you notice small amounts of rust on the track or slider and have trouble opening and closing the zipper, there are a few home solutions you may want to consider—a simple mixture of white vinegar with hot water. The acids in the vinegar will help dissolve any rust build-up, while the water dilutes it enough to prevent any additional harm to the rest of the zipper.
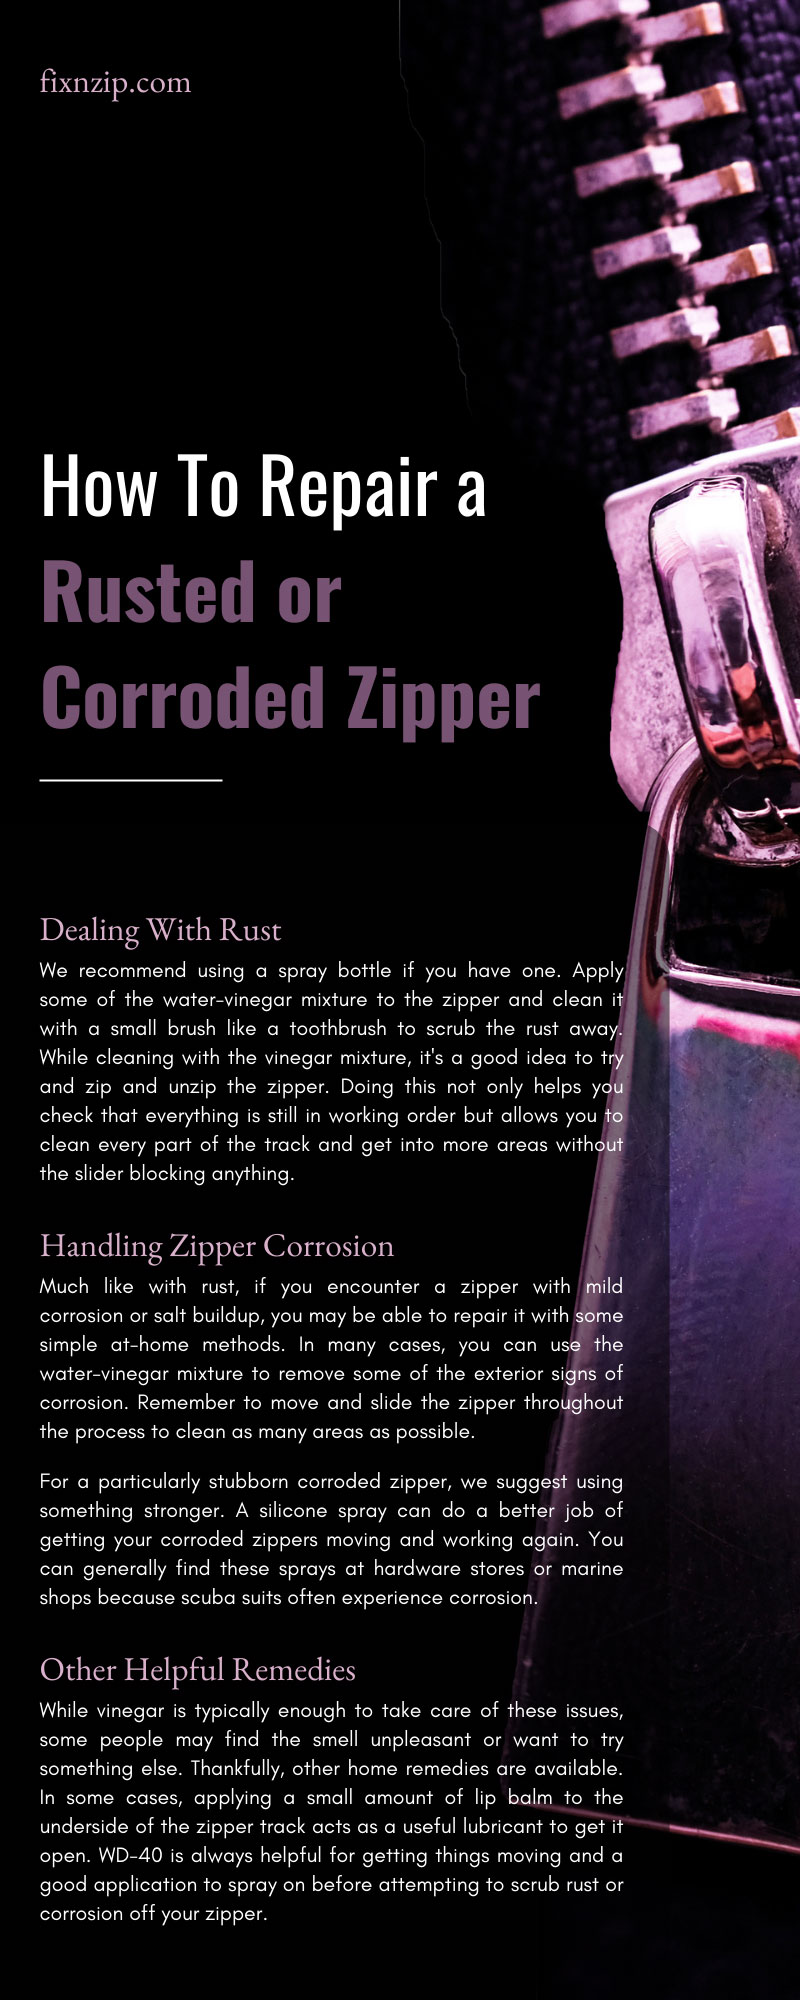
We recommend using a spray bottle if you have one. Apply some of the water-vinegar mixture to the zipper and clean it with a small brush like a toothbrush to scrub the rust away. While cleaning with the vinegar mixture, it's a good idea to try and zip and unzip the zipper. Doing this not only helps you check that everything is still in working order but allows you to clean every part of the track and get into more areas without the slider blocking anything.
While rust is generally metal flakes that build up on the item through oxidation, corrosion takes many forms. Many of these forms involve deteriorating metal. Another common side effect of corrosion is a buildup of salt crystals that occur if you store the zipper for lengthy periods after exposure to salt air. You may commonly find these crystals on beach bags, tents, or other zippers that may have met salt water or nearby areas.
Much like with rust, if you encounter a zipper with mild corrosion or salt buildup, you may be able to repair it with some simple at-home methods. In many cases, you can use the water-vinegar mixture to remove some of the exterior signs of corrosion. Remember to move and slide the zipper throughout the process to clean as many areas as possible.
For a particularly stubborn corroded zipper, we suggest using something stronger. A silicone spray can do a better job of getting your corroded zippers moving and working again. You can generally find these sprays at hardware stores or marine shops because scuba suits often experience corrosion.
You may be wondering how to repair a rusted or corroded zipper. Silicone spray is a helpful maintenance tool to prevent these problems from occurring in the first place. It's not always easy to take preventative measures when you have something in storage, but it's a helpful tool to have around, just in case.
While vinegar is typically enough to take care of these issues, some people may find the smell unpleasant or want to try something else. Thankfully, other home remedies are available. In some cases, applying a small amount of lip balm to the underside of the zipper track acts as a useful lubricant to get it open. WD-40 is always helpful for getting things moving and a good application to spray on before attempting to scrub rust or corrosion off your zipper.
If you're lucky, any rust or corrosion you encounter isn't that bad. You can use a brush and some cleaner to take care of it and have everything in working order again. However, there are times when a little brush isn't going to do the trick, and you need to replace the zipper.
Replacements are generally only necessary if you notice some irreparable damage to the zipper, like several missing teeth. Rust and corrosion can be stubborn and may require multiple cleaning attempts.
If you do notice extensive damage on the slider, but the track of the zipper seems intact, you may just need to replace the slider. Slider replacement kits are inexpensive and easy to install with a pair of pliers. You can check the base of your zipper to see what size kit you need to buy and use pliers to remove the top stop of your zipper.
If the slider is subject to heavy rusting or corrosion, removing it may be a more difficult task, but one that should work with some gentle adjustments and WD-40. You want to take extra care not to damage the track while trying to remove the slider.
After you remove the slider, this may be a good opportunity to perform any additional cleaning of the teeth with no obstacles. If you decide to clean it, we recommend taking a soft cloth and ensuring that everything is dry before you attach the new slider. Attach it and check that it moves effortlessly before using your pliers to attach the new top stop.
Rust and corrosion are never fun, but when encountered in smaller doses, it’s a fairly manageable concern. For more information on zipper repair, FixNZip has a variety of helpful articles, replacement kits, and staff that are ready to aid you with any fastener-related problems. Contact us today with any questions, comments, or concerns.
Usually, when we want to use a zipper on a jacket, jeans, or bag, it’s easy enough to reach and move without damaging it, but on certain garments, such as dresses, the zipper may not always be within a comfortable arm’s reach. If someone is around, you may be able to ask them for help, but when you’re alone, you can use these tips for zipping hard-to-reach zippers without breaking or damaging them.
Perhaps the best way to pull up your zipper is to construct a small, simple device to attach to the zipper of your garment. You can use many materials to put this together, but you’ll mainly need some sort of clip and a long piece of string, ribbon, or thin rope.
For the clip, we recommend a safety pin or something similar that you can open and close without much effort. Safety pins are great because they come in a variety of sizes and have a small loop at the end that’s easy to attach to your string.
Once you have your small pulley put together, the next step of this tip for zipping hard-to-reach zippers without breaking them is to attach it to the zipper before you put the garment on. Then get dressed as normal and zip yourself up as far as your arms can reach without issue or the zipper becoming snagged.
At this point, you should still be able to grab ahold of the string or ribbon dangling off your zipper. Take firm hold of the string and use it to gently guide your zipper up its track. This process should put far less strain on the garment and your arms, neck, and back.
Once you’ve zipped yourself up, if you’re able, reach for the safety pin and disconnect it from the zipper. If it doesn’t stick out too much, some folks may choose to tuck the pin and string inside the dress and use it to help unzip their garment at the end of the evening. We recommend ensuring you can get your pulley system back on before taking it off.
A simple pulley system works wonders for getting your zippers where they need to be without damaging them or the items they’re attached to, but if you need a zipper slider replacement, FixnZip has the parts and pieces you need. Browse through our catalog or contact us for more information on how you can take care of your zippers.
Whether you’re faced with a jacket or bag, you may sometimes find yourself dealing with a zipper that gets stuck. As tempting as it may be to use brute force to open the zipper, this may damage the teeth or make the entire thing fall apart. Instead, we recommend adding a bit of lubricant to loosen things up. You can buy zipper lubricant, but if you don't have any available, here are five common things you can use to lubricate a zipper that you may have lying around the house.
Soap is one of the best and simplest ways to loosen up a stubborn zipper. Whether you use liquid hand soap or create some soapy water with a bar, this can help get that slider moving again. An added bonus is that using soap helps clean your zipper.
If you have a pencil on hand, you can use the graphite to help unstick your zipper. Carefully take the sharpened tip of your pencil and start coloring in the zipper track a few inches above and below the slider. The graphite dust works as a lubricant and will get the zipper moving smoothly.
One of the most common things you can use to lubricate a zipper is window cleaner, such as Windex. Spray the cleaner onto the zipper track around the slider to help your zipper open and close easily.
If you have some extra lip balm, use the smooth, waxy substance as a wonderful form of lubrication. However, after using your lip balm to repair your zipper, we don't recommend putting it on your lips again.
Only one or two drops of olive oil can serve as the ideal solution for lubricating your zipper. Place the oil near where the slider is stuck, then gently wipe it away before attempting to open it. Your zipper should slide like normal again.
After lubricating your zipper with one of these common household items, we highly recommend taking some water and a clean toothbrush and cleaning off your track. Leaving any form of lubricant on the zipper may lead to more problems down the road.
For more helpful information about how to fix a zipper, turn to FixnZip. We have a variety of helpful tools and topics to ensure you can repair or replace your fasteners. Contact us today for more information.
As we subconsciously zip our jacket, pants fly, or dress, it's easy to assume that all zippers are the same. However, that couldn't be further from the truth. There are several zippers in different shapes and sizes one must consider. Following these tips for selecting the right zippers for your garments helps guide you in the right direction.
Before gathering your materials for your project, you should assess what item is getting the zipper. Your selection may vary based on if it's a shirt, dress, pillow, luggage, or backpack. It's wise to view each alternative and decide if it pairs well with your item. Ideally, doing this in person assures that you have the perfect match, but it might be challenging to find the precise zipper you want in a store.
When shopping for something, finding the dream item but not having it in your size can be aggravating. The same can happen with your zipper selection. Even if you find the right style and material, you have a problem if the size is incorrect. Doing this first helps you bypass any frustration when you are looking for one and then sew it on.
Another key factor to consider when cutting down your zipper decision is the kind of teeth on the fastener. You'll know what teeth you want depending on the item it demands. For example, you'll want smaller teeth if it's something delicate and small. On the contrary, something larger that requires a more robust zip needs larger and stronger teeth.
You can finally pick the zipper you desire by determining the correct size and teeth needed for the project. You can choose from six zippers: separating, two-way open-ended, invisible, continuous, coil, and chain.
Chain is the standard of the six. It can have metal or plastic teeth. Coil zippers consist of polyester or nylon coil. Continuous zippers are, as the name implies, one giant zipper of continuous length.
Also, as the name implies, an invisible zipper has no stitching visible to the naked eye. They have very small teeth to conceal that a zipper is even there. Separating zippers are standard in jackets, hoodies, and coats. And two-way open-ended zippers are like separating zippers, but they can go both ways.
These tips for selecting the right zippers for your project should yield promising results. If you have an error in your methods and need a zipper repair kit, Fixnzip has you covered. Fixnzip's kit helps you replace damaged sliders, repair mangled zippers, and fit a wide range of sizes. Please read over our FAQ page if you have a concern to see if there's an answer, or contact us directly if you're still struggling. We'd love to help.
If you’re trying to get out the door in a hurry, you might throw on a pair of pants quickly and zip up, only to realize that your hasty zipper skills broke the fly on your jeans. Use this simple guide to fixing zippers on jeans to solve your dilemma without buying a new pair.
Broken teeth on a jeans zipper prevent the fastener from working properly. It’s one of a variety of causes for zipper failure. Depending on where the broken teeth are, you might be able to continue zippering. If the damaged teeth are more than halfway down the fly, you can fix them by adding a new stop. Otherwise, a complete replacement is necessary. Here is how to add a bottom stop:
Another popular method involves putting the zipper back on its track. The beginning of this process is different from the bottom stop, but you repeat the same steps once you finish the first step.
The first step you must do for this is to take the top stops off both sides. Once again, grab your trusty pliers and remove the top stops. It’s important to move the slider to the bottom of the zipper before you begin.
Regardless of what you try from our simple guide to fixing the zipper on jeans, Fixnzip is here to help you keep your fly fastened. Order a repair kit or replacement sliders to fix any zipper giving you issues in just a few clicks. Try additional methods like using wax to coat the teeth or adding a safety pin to prevent the fly from sliding down. Those are just a couple of ways to extend the life of a zipper.
Visit our store to order your repair kit today. Contact us with any questions!
Ideally, we would all go through life without experiencing a minor inconvenience. However, that dream usually shatters within the first five minutes of your day. One of the most common issues people have is an untimely wardrobe malfunction. But knowing how to assemble your own kit for wardrobe malfunctions can limit those embarrassing mishaps. Here’s an overview of what could go wrong and the tools you need to fix these problems.
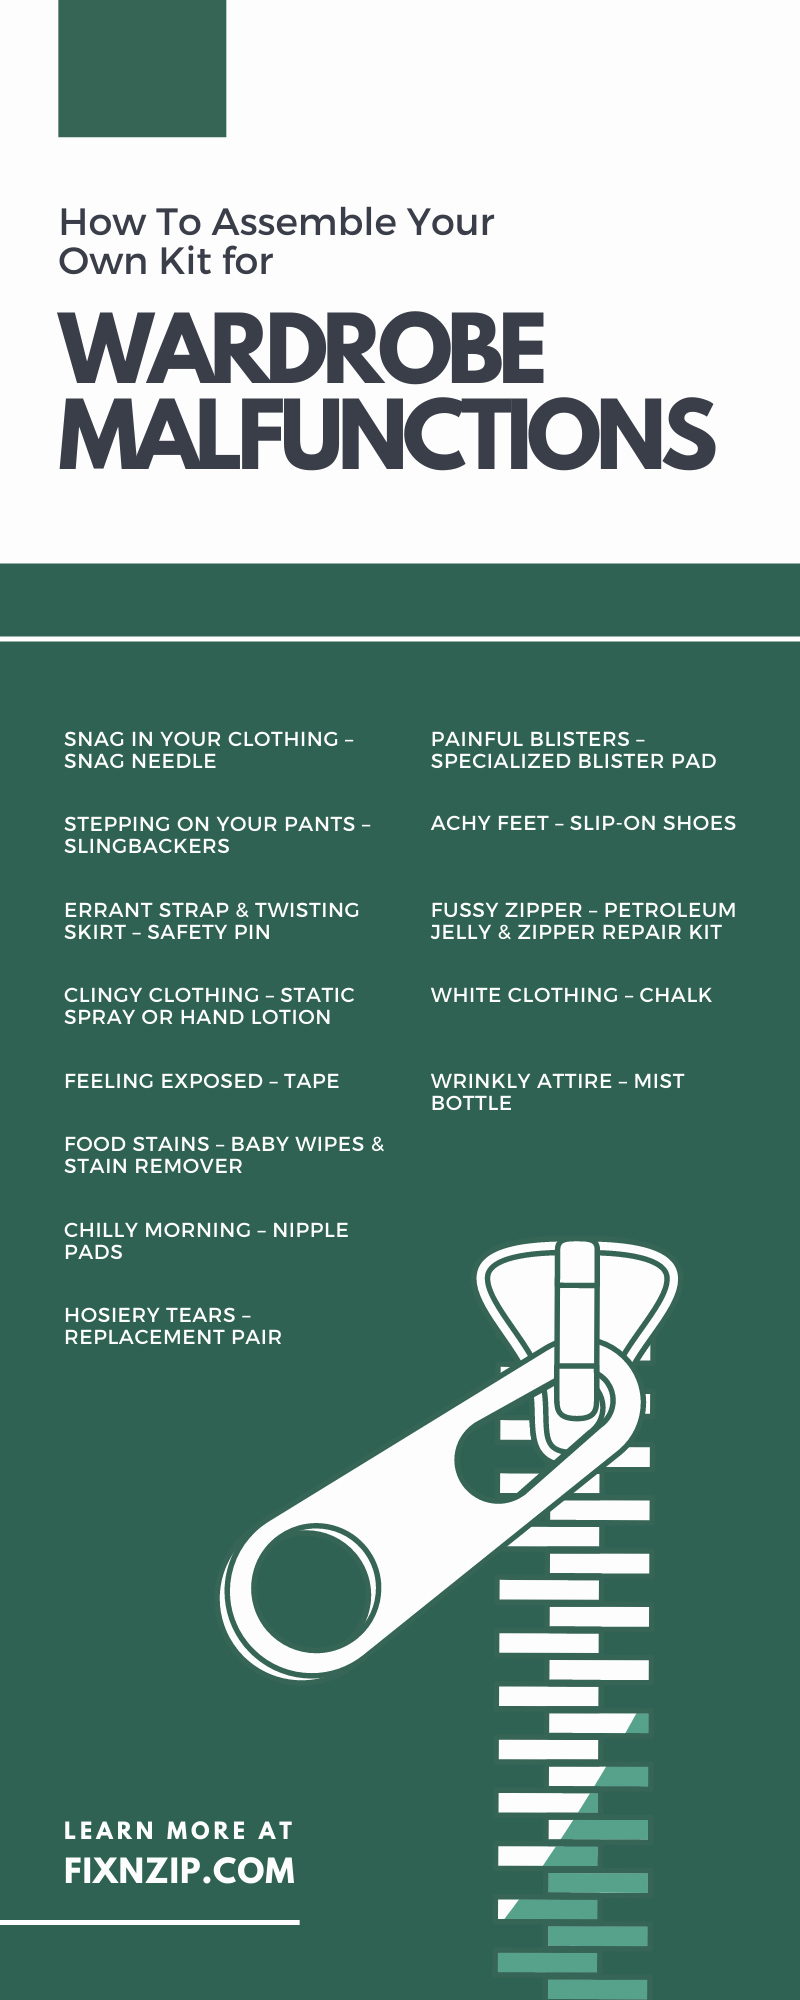
Some quick needlework can repair your article of clothing. A loose thread on a sweater, pair of slacks, or jacket can be a harbinger of a larger problem ahead. All it takes is one errant move to cause a loose thread, and that thread can ruin the garment. You should include a snag needle in your kit to avoid this ordeal.
You feel fierce when you look in the mirror wearing a stylish pantsuit with strapped footwear. However, you may not realize that the hem of your pants will slide underneath your foot as you walk until it’s too late. Instead of pulling it out all day long, you can purchase Slingbackers to close that gap, ensuring that your pants flow down the back of your leg correctly.
Wearing additional layers may lead to a loose strap having a mind of its own. While it shouldn’t be a big deal, it may distract others, especially if you give a presentation or have an intimate face-to-face conversation. Luckily, this fix doesn’t require you to have any special skills. It would be best to have a safety pin to keep your straps inside of whatever you’re wearing.
Another incident you’ll need a safety pin for is when a skirt twists as you walk. A scrunched skirt can happen from an ill-fitting waistband or carrying a handbag. Adding a pair of medium-sized pins to your waistband prevents that skirt from twisting.
We all know what static electricity can do with clothes, especially when you’re folding laundry out of the dryer. Other than the random shocks, it can be annoying that your clothing sticks to you like you’re a magnet.
Clingy clothes are extremely bothersome when you wear them, making static spray essential for any kit. Although, if you don’t have spray handy, you can use hand cream and rub it on the parts of your body most affected by the clinginess.
As Janet Jackson and many celebrities have shown, sometimes, it’s not easy to tuck things away. Certain outfits leave you more vulnerable than normal, so throwing some tape in your kit can prevent you from spilling out if you are flirting with disaster. If you want additional coverage, you can pack a neutral-colored camisole.
Most extravagant parties have dinner or hors d’oeuvres to eat as you speak with other guests. Every bite increases your chances of spilling some food on your clothes, leaving an embarrassing stain. Even if you are extremely careful, it’s bound to happen eventually. Thus, always include baby wipes and stain remover in your kit. Baby wipes can help you in various ways, so you should have them for tasks beyond removing blemishes. The stain remover is a pricier option, but it erases any spills within the blink of an eye.
A drastic temperature change may cause a certain part of your body to peek through your clothing. To avoid being the center of unwanted attention, it’s worth having some nipple shields in your kit if you fall victim to a stiff breeze, especially when lacking the layers.
Wearing hosiery leaves you susceptible to tears and rips when you least expect it, particularly when working in tight quarters under a desk. A swift turn or swivel could graze the edge of something, shredding your tights. Having a backup pair is essential if you wear hosiery because you don’t want to go all day with a giant hole showing.
While this isn’t necessarily a malfunction, it’s worth having some blister support in your kit. Constantly being on your feet for your job may develop some blisters on the most sensitive parts of your foot. Everyone knows how painful that irritation can be, mainly when it rubs against your shoe. To prevent it from popping and wreaking more havoc, go into your kit and pull some blister pads to alleviate the pain.
The odds are most people that wear heels have taken them off at one point in the night. You’ve certainly seen someone walking home with their heels in their hands. Rather than walking home barefoot or in shoes that give you unbearable pain, opt for a pair of foldable slip-ons. You don’t need to break the bank for a pair of these, and most retail stores have pairs for less than 20 bucks.
There are few things as frustrating as a faulty zipper. Whether it’s immovable or off to one side of the track, it’s a helpless feeling when it happens. Adding some petroleum jelly to your kit will help lubricate the most stubborn zipper sliders. You can also include a zipper repair kit for a sure-fire solution.
Wearing white is always a risky decision. Even a dribble from a clear liquid can leave a noticeable impression on your clothing. Additionally, it can be next to impossible to rub out a stain on white attire. A quick and cheap hack is adding chalk to your kit. It’s not a long-term solution, but it helps you in a pinch to chalk out the spillage.
When you’re in a rush, you may have no other option than to grab a wrinkled shirt or pants. And wrinkled clothes give the appearance of someone who is unkempt. Once you get to your destination, take a quick detour to the restroom, grab the mist bottle from your emergency kit, and let it air dry. It’s not as effective as a steamer, but it works well when you’re under pressure.
That concludes the tutorial on how to assemble your own kit for wardrobe malfunctions. As you can see, many bad things can happen on any given day, specifically regarding what you’re wearing. Fortunately, FixnZip can help with some malfunctions with our zipper repair kits. Using one of our kits in a dire situation will assist you in getting that zipper working again!
Some people launder their clothes with the greatest care. Others get the job done as quickly as possible. Whatever your style, you should take a few simple steps to protect your clothes from zippers in the wash.
To avoid zippers getting damaged or snagging your clothes, follow this guide. Here are the dos and don’ts of washing clothes with zippers.
Zipping up your clothes before putting them in the wash will protect the teeth so that the zipper continues to open and close easily. It will also protect the rest of the clothes in the wash since fabric can snag easily on an open zipper. So whether you have a zipper on pants, tops, or outerwear, zip it up before putting it in the washing machine.
If you want to be sure that the zipper doesn’t come open during the wash cycle, you can take an extra step to secure it. Take a safety pin and push the pin through the hole in the metal pull of the zipper, then pin it through the fabric and close the safety pin.
This ensures the zipper stays perfectly closed throughout the wash. Painted zippers are more likely to chip off their color if the zipper moves around. Zippers can also scratch the inside of a front-loader washing machine door, so keeping the zipper still can protect your machine too. For all these reasons, securing the zipper is an important step in washing clothes with zippers.
High heat from your dryer can ruin your zipper. Drying your clothes on a low heat setting or even line drying will help the zipper teeth keep their shape.
Be sure to take the zippered garment out of the dryer immediately after the cycle ends. Just as you straighten out clothes from the dryer to avoid wrinkles, straighten out the zipper so that it won’t dry with shifted teeth.
When zippers work, it’s easy to take them for granted. But the insertion pin, box, teeth, and pull can get damaged, twisted, or pulled off. And when that happens, the zipper becomes frustrating.
If this happens to you, you don’t have to throw that item away! Use our zipper repair kit to make your garment good as new. The FixnZip kit replaces damaged or missing sliders, repairs zippers that have come undone, fits a range of zipper sizes, and can repair metal and plastic zippers. This convenient repair kit can take care of your damaged zippers and help you hold on to your favorite garments, so get one today.
We’ve all been in a situation where we’re trying to make as little noise as possible. Being a spectator at a show or rustling around a sleeping child requires you to be as stealthy as possible. However, the sound of a zipper might foil your plans. So use these four easy ways to quiet obnoxiously loud zippers.
One of the easiest ways to soundproof a noisy fastener is to use a zipper pull replacement. A new zipper pull kit works well because of its plastic tap. You’ll hardly notice the noise when you pull it upward from the end.
Usually, you can find a zipper pull kit that has multiple fasteners. Plus, the varying sizes and easier-to-install replacements can minimize the frustration while fixing it.
To get the ball rolling, you must remove the metal pull, thread a side of the pull string through the hole, level the length out, and put the tab in place.
Ideally, you want to silence a zipper by not removing it, but you may have no other choice. If so, you should replace the entire zipper with a plastic version. This will eliminate the annoying sounds of a metal one.
You’ll have to detach the zipper by removing the stitches and measuring for the new plastic one. After that, you’ll need to do some precise cutting and sewing to complete the process. However, if you aren’t the crafty type, it may be advantageous to take it to a professional.
The rattling of a metal zipper can agitate you after every pull. Using a paracord is an additional way to suppress the sound. Go ahead and grab the essentials for the job. You’ll need a sharp object and metal snips or whatever can aid you in cutting out the bottom portion of the zipper pull.
Once you gather the supplies, you’ll create a loop with the paracord and straighten it. You’ll need to repeat the process on the opposite side, after which your paracord should work beautifully.
The simplest method of quieting a zipper is using wax to lubricate it. Candle wax will do the job, but surf wax is the best option. Generously putting wax on all parts of the zipper helps hush its components. The wax acts as a barrier that stops sounds. Thus, whenever you notice some noise, get the wax out. The odds are that you’ll have to do this multiple times if you constantly use the zipper.
Using these four easy ways to quiet obnoxiously loud zippers will prevent you from causing a ruckus when you zip up your coat, backpack, or boots. Whether you need to replace a slider or a pull, you should head to FixnZip. We have what you need to guarantee that your fasteners are quiet as a mouse.
It’s easy to take zippers for granted. They have been around our entire lives, secure our money, tighten our boots, protect our luggage, and prevent wardrobe malfunctions. Albeit it is tiny in stature, it takes a rigorous process to make a zipper. Let this be your education on the process of how zippers are made.
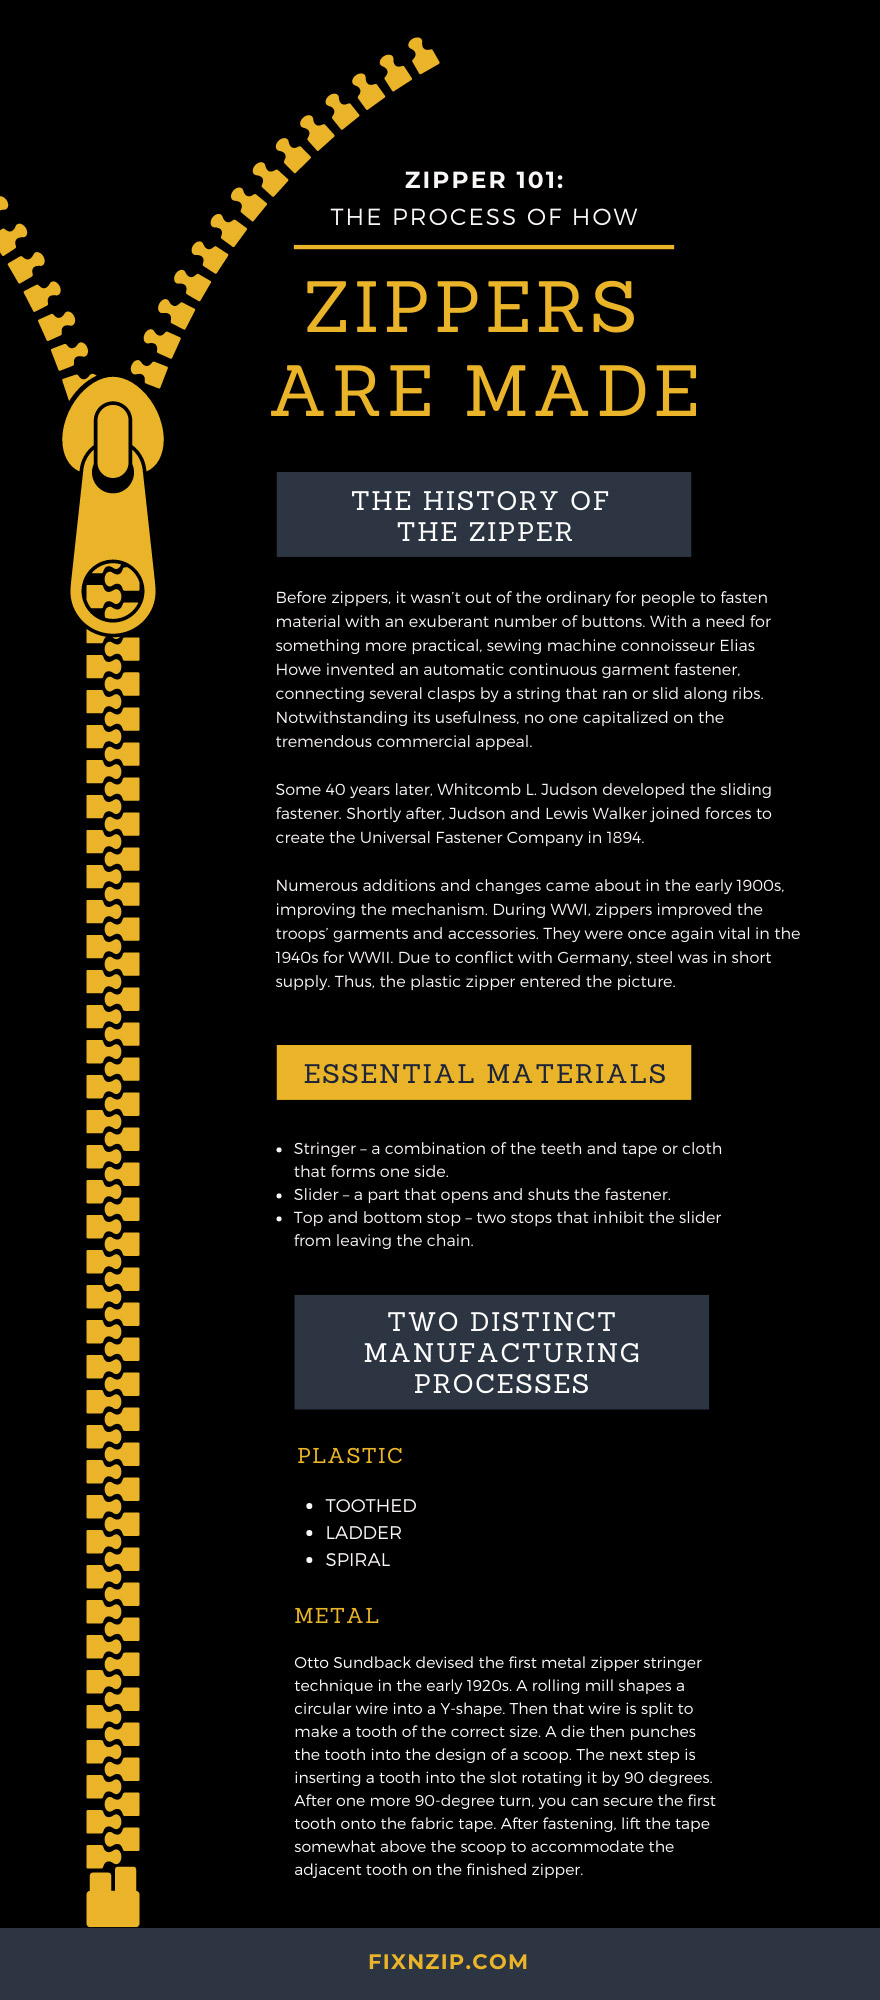
Before zippers, it wasn’t out of the ordinary for people to fasten material with an exuberant number of buttons. With a need for something more practical, sewing machine connoisseur Elias Howe invented an automatic continuous garment fastener, connecting several clasps by a string that ran or slid along ribs. Notwithstanding its usefulness, no one capitalized on the tremendous commercial appeal.
Some 40 years later, Whitcomb L. Judson developed the sliding fastener. Shortly after, Judson and Lewis Walker joined forces to create the Universal Fastener Company in 1894.
Numerous additions and changes came about in the early 1900s, improving the mechanism. During WWI, zippers improved the troops’ garments and accessories. They were once again vital in the 1940s for WWII. Due to conflict with Germany, steel was in short supply. Thus, the plastic zipper entered the picture.
There are four fundamental components of a zipper:
Several materials create metal zippers—aluminum, stainless steel, zinc, and brass, to name a few. Most steel zippers use zinc or brass for coating, or they might match the color of the clothing. On the other hand, zippers consisting of plastic materials contain nylon or polyester, with the slider being steel. Lastly, the fabric tapes are either polyester, cotton, or a mixture of both.
Plastic and metal zippers each have a distinct manufacturing process. Read on to learn a bit more about both.
There are three types of plastic zippers: toothed, ladder, and spiral.
To manufacture the toothed option, you will employ a molding procedure like metal zippers. Then, a revolving wheel features microscopic molds formed like squashed teeth. In the end, two cables link the final teeth. When you pour semi-molten plastic into the mold, it will harden. Finally, a folding machine twists the teeth into a U-shape for sewing.
You can manufacture a ladder zipper by wrapping a plastic wire between two spools protruding from the edge of a spinning shaping wheel. On either end, strippers remove the loops off the spools, while a heading and notching wheel continuously pushes the loops into the shape of a “U,” forming heads on the teeth.
There are two ways to string a spiral plastic zipper. A notch in a plastic wire feeds two hot fasteners. These fasteners wrap the plastic thread in opposite directions. A head maker molds each loop into a round knob, using air to cool down the spiral. This approach employs two separate machines to create spirals on both sides of the zipper.
The second method makes two spirals solely on a single machine. A forming wheel spins a wire loop between notches. You make these notches by a pusher and a head maker, producing two linked chains ready to sew on two fabric tapes.
Otto Sundback devised the first metal zipper stringer technique in the early 1920s. A rolling mill shapes a circular wire into a Y-shape. Then that wire is split to make a tooth of the correct size. A die then punches the tooth into the design of a scoop. The next step is inserting a tooth into the slot rotating it by 90 degrees. After one more 90-degree turn, you can secure the first tooth onto the fabric tape. After fastening, lift the tape somewhat above the scoop to accommodate the adjacent tooth on the finished zipper.
Its appeal diminished due to it being a meticulous technique. A comparable approach followed to punch a flattened wire strip between a heading and pocket punch to make scoops. A blanking punch shapes the scoops into a “Y.” Next, clamp the Y legs around the fabric tape. This methodology left Sundback’s version in the dust.
After creating the individual stringers, connect them temporarily to a slider-like tool. After the pressing, you can clean the edges of the metal zippers, drying them out after the scrubbing. To ensure a smooth-functioning device, wax and wrap them onto large spools.
Stamp the pull tab and slider individually. For one-way zippers, clasp the bottom stop, then connect the slider onto the chain. Fasten the top stops on and trim the spaces within the teeth. You can coat the midway point of each gap with reinforcing tape, clamping the top stops. Now, dice the tape and divide the strips of the chain again. On one side will be the slider and box, while the opposite side will have the pin.
At this point, the assembly of a zipper is complete. Thus, they are ready to accompany the most delicate garments and accessories from around the world.
Zippers are intricate gadgets that operate on a seamless, nearly flawless connection of minuscule teeth. Because you use them to secure garments, they must pass the same testing as other clothing items.
Zipper makers strive for consistent performance. An inspection of each aspect of the fastener ensures its adequacy. The zipper’s measurements must be within 90 percent of the intended length; however, it is usually near 99 percent.
The extensive process to guarantee the quality of the zipper includes testing its strength, user-friendliness, durability, color, and fabric tape. The strength matters, as you shouldn’t be able to easily manipulate or break the teeth.
That said, you shouldn’t need 10 people’s strength to slide the device up and down. But it is nice that it’s durable enough to survive several hundred trips in the washing machine. Finally, confirm that the color and tape are the correct ones.
This concludes your course on Zipper 101: The process on how zippers are made. Hopefully, you have a better appreciation of the extensive process it takes to make something the size of a fingernail. If one of your zipper slidersis a defective one that slipped through the cracks, you can find several items at FixnZip that can help. We promise that any of our zipper replacement kits will make Elias Howe proud.
It’s a pain when the zipper on your footwear breaks. That snug feeling around your foot is no longer possible, putting you in danger of rolling your ankle when you least expect it. Follow this simple guide on how to fix a boot zipper before you buy a new pair.
The first and most significant step is determining the full extent of the damage to your boot zipper. If the harm is minimal, you should repair it manually. Otherwise, if you see extensive damage that you cannot fix yourself, visit a cobbler for professional repairs.
Your zipper parted because a tooth didn’t match up somewhere along the way. To fix the problem, you’ll need to unzip the zipper to slightly below that spot. When you run into difficulties, suppress the desire to force the zipper down. Doing so might cause the teeth to distort or crack beyond correction. Instead, carefully wiggle, rotate, and yank it on one side.
Now it’s time to wax the zipper’s teeth. Go ahead and make your way into the crevices and the fastener itself. Slowly slide the zipper to and fro, making sure that all of the teeth are gripping. If you run into difficulties, reverse the zip, reapply a little more wax, and begin again. Once it’s back to normal, you can remove any remaining wax.
If the Karate Kid wax-on, wax-off method doesn’t do the trick, there are alternative ways to fix a boot zipper. You can use pliers to disassemble the stopper. Once the stopper is free, remove the slider and manually connect the fastener. Once again, grab the pliers and get the teeth to interlock. This is a delicate procedure, so you’ll need dainty pliers to do the job.
At this stage, inspect and remove any teeth that may be blocking the zipper from traveling smoothly. Then, load the slider by gliding it onto the two ends of the zipper. Finally, reinstall and secure the stopper. But be careful because too much force could end up breaking the stopper.
And there’s our simple guide on how to fix a boot zipper. If you need a zipper pull replacement, be sure to check FixnZip’s store; it’s your one-stop shop for all things zippers. Additionally, you can check out our other posts offering advice on how to correct broken zippers on all your other garments.